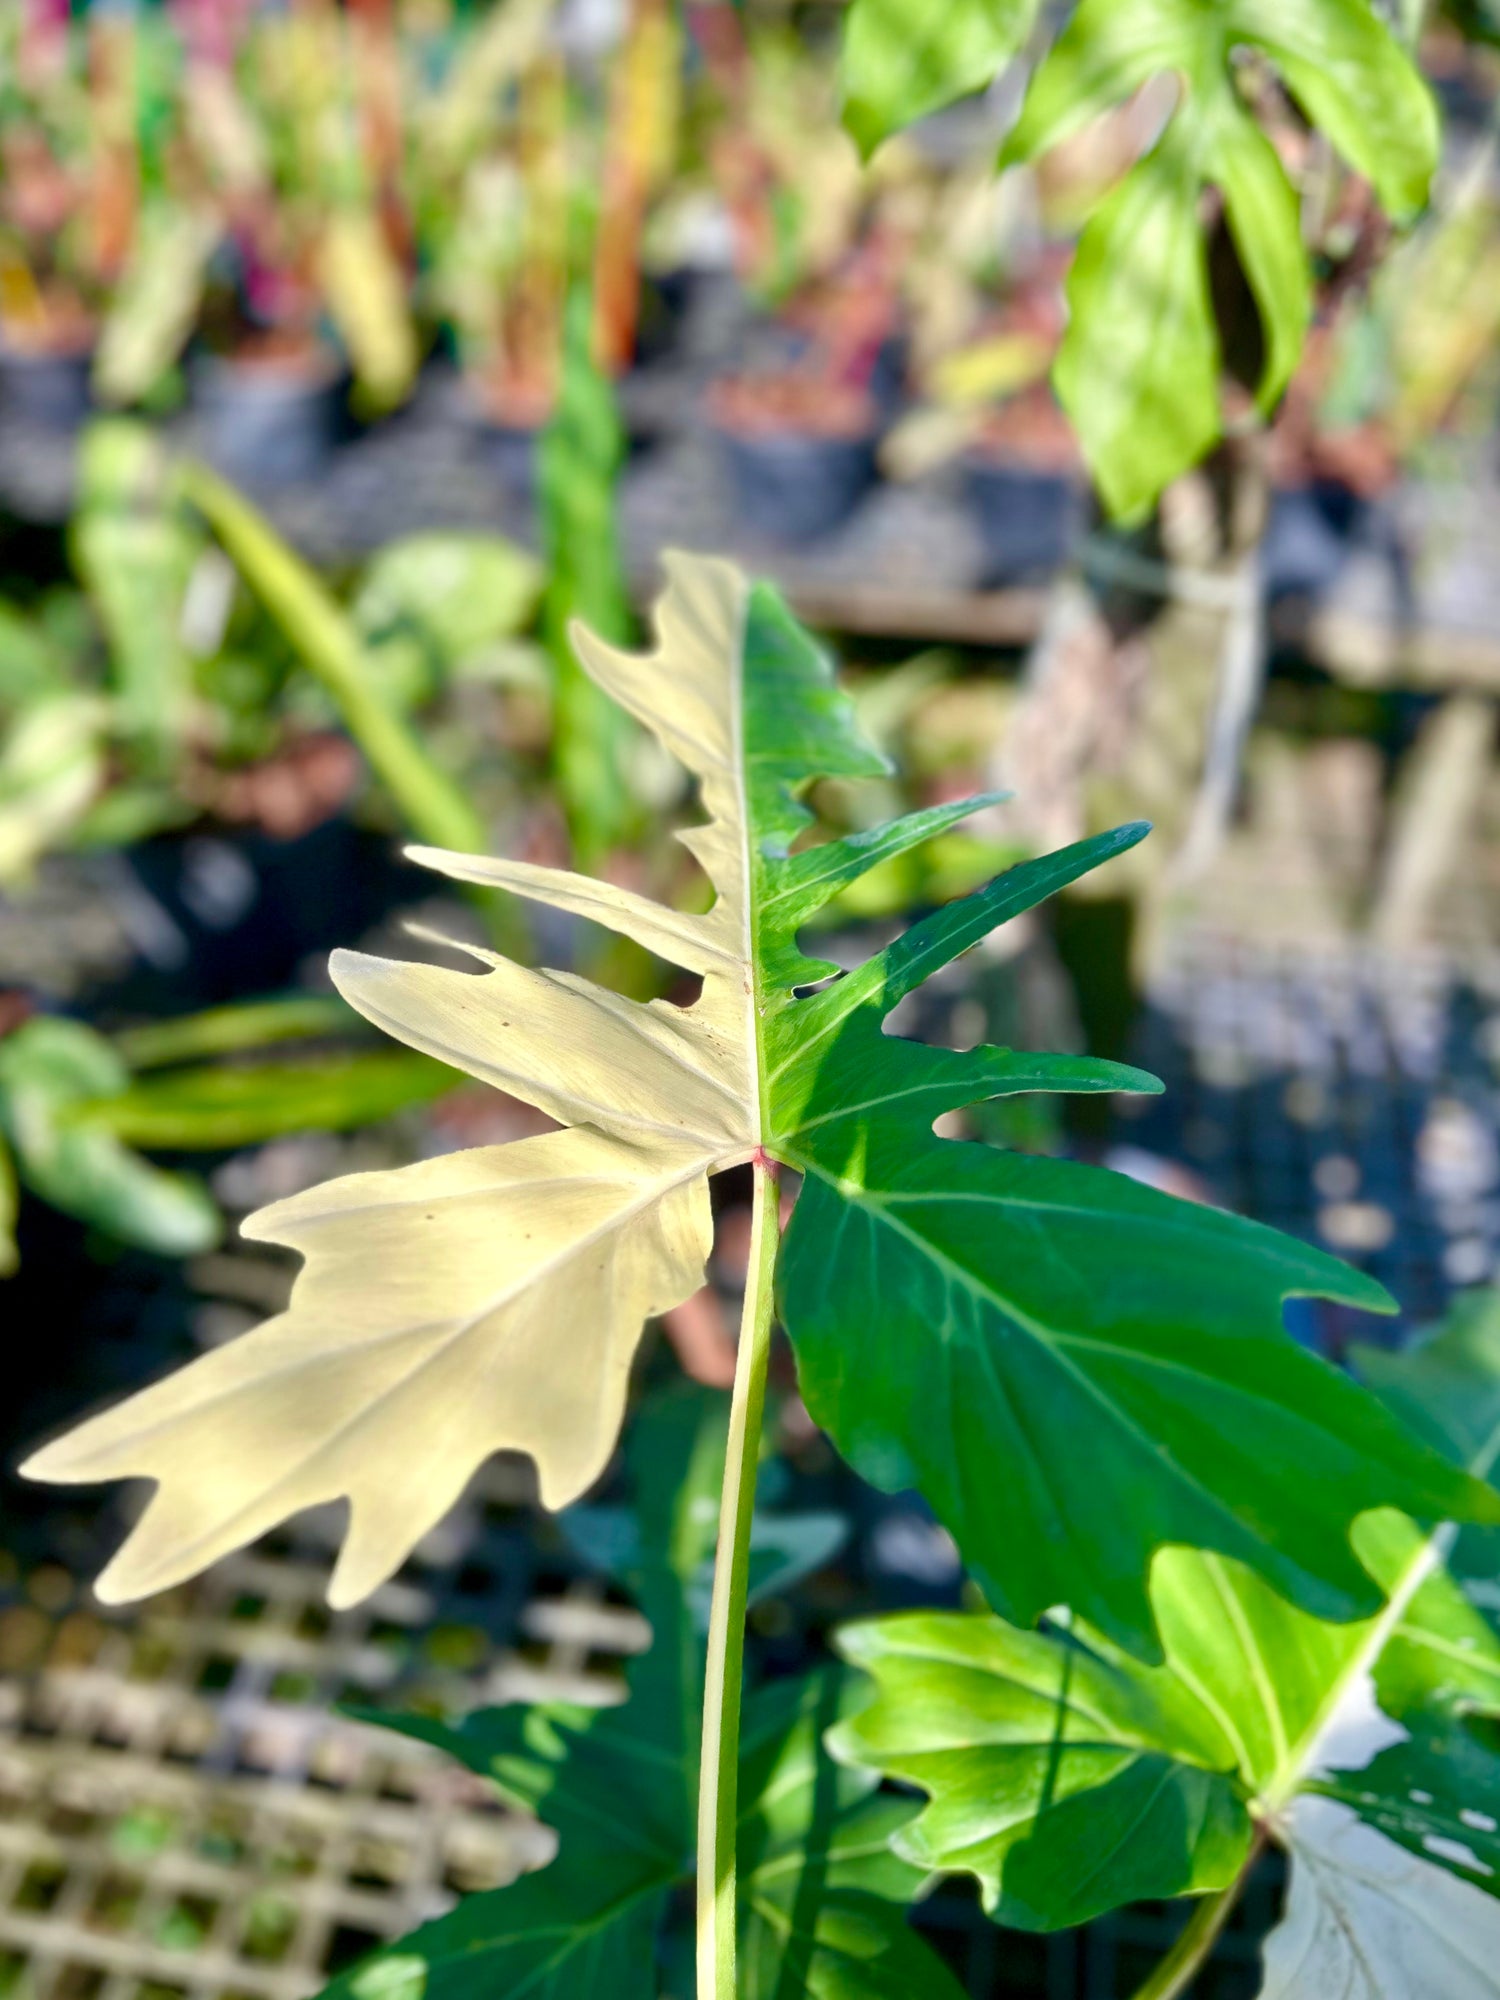


GERMINATION
INCLUDED
ROT RISK
Root Starter / Bulb Growing Pot
Root Starter / Bulb Growing Pot
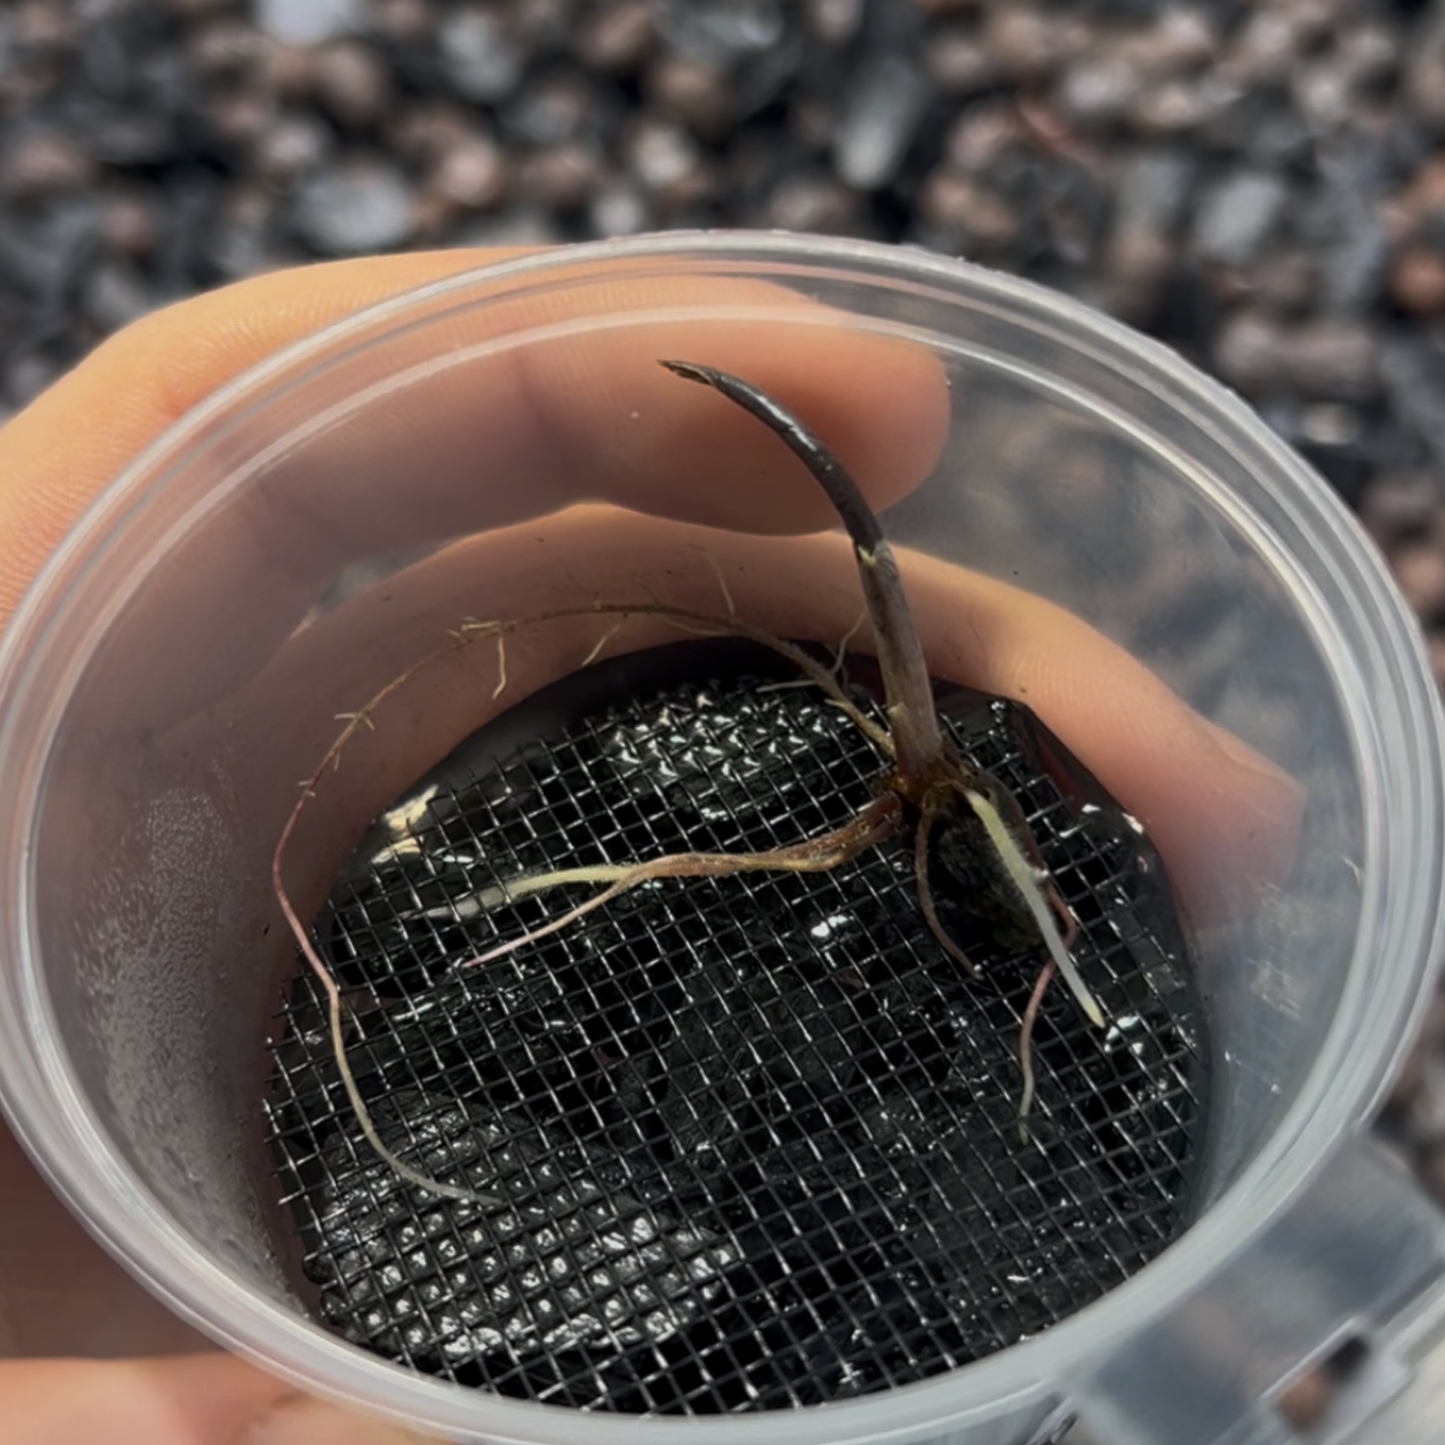
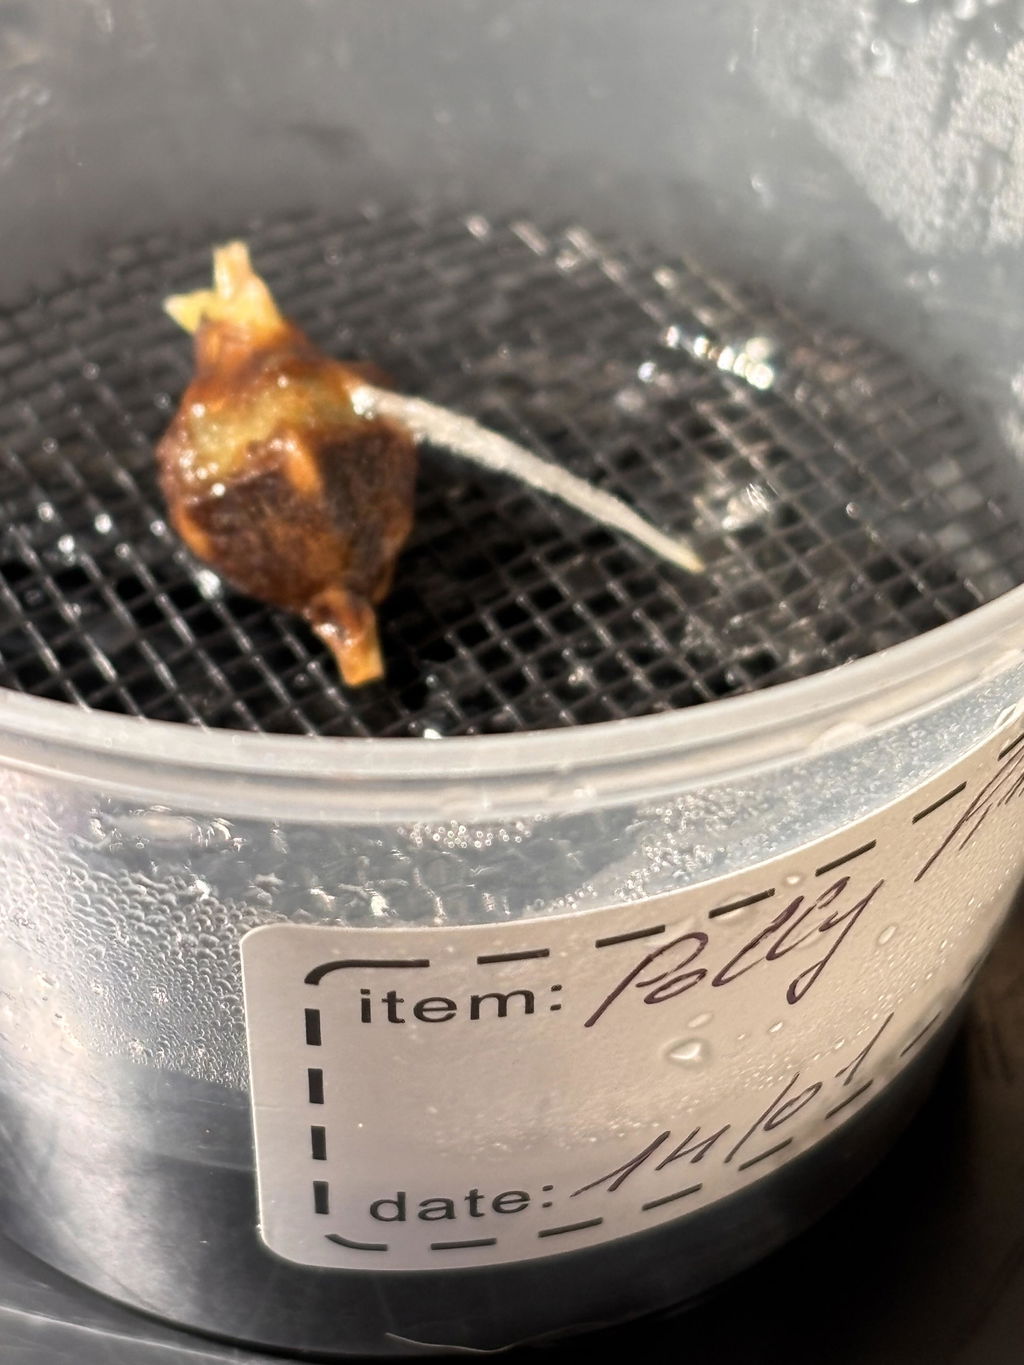
Proof it works
Tap to see it in action
Ideal for:
Alocasia Corms, Cuttings, Seeds


Couldn't load pickup availability
How to use the Root Starter
A few simple steps create a clean, humid and controlled environment around your corm.
Thriving Plant Guarantee — 30 days
We don't just want your plant to survive — we want it to thrive.
If, despite following our recommendations and correctly using the Root Starter, your plant experiences an irreversible decline, contact us so we can first help stabilise and recover it.
If it cannot be saved, our guarantee provides:
- Refund of the relevant substrate / Root Starter order
- A replacement plant worth up to €100 per order as store credit
Main conditions:
- The product must be used according to our recommendations
- No unapproved mixing or additions
- The purchase must have been made directly on greenandwhiteplants.com
- The product must be used for a plant compatible with its intended purpose
Still unsure? Read our customer reviews .
Formulated and prepared in France 🇫🇷
Our Root Starter is assembled and quality-checked in France.
Each kit is carefully prepared to provide a stable, clean and highly humid environment designed to encourage corms and seeds to restart growth.
Every component is selected for simple use while keeping the corm safely above the water.
What is the Root Starter?
The Root Starter is a transparent container designed to create a very humid microclimate while keeping the corm away from direct water contact.
The kit contains:
- 1 transparent container
- Horticultural biochar
- 1 protective grid
- Identification labels
Why biochar?
Its porous structure helps maintain a stable environment around the rooting zone and manage moisture without placing the corm directly in water.
Recommended temperature: 25–30°C.
A warm and stable temperature generally supports dormancy break and renewed cellular activity in the corm.


Root Starter - FAQ
What is Root Starter used for?
Root Starter is designed to promote rooting and acclimatization of Alocasia bulbs, even the most fragile, in a controlled environment.
It stimulates roots while limiting stress and the risk of loss.
What's the ideal temperature?
• Optimal temperature: 25°C to 28°C
• - 22°C → growth slows down
• + 30°C → risk of rot increases
Does it require 100% humidity?
Yes, humidity close to 100% is recommended at the start to promote root emission.
• Light ventilation every two to three days is sufficient to prevent imbalances and limit the risk of mold.
Should I water?
Yes, but very little.
• Add only 12 to 15 ml of water when the system is almost empty.
• Water should never be in direct contact with the grid or the bulb.
• Use a syringe to deposit the water directly at the bottom of the container, under the grid.
• The Root Starter works primarily thanks to ambient humidity, so there is no need to water more often.
Should I add fertilizer?
No. Root Starter contains enriched biochar, which already provides the necessary nutrients for root development. No additional fertilizer is required.
Can I use tap water?
Yes, but it depends on the quality and pH of your water:
• Ideal: pH between 5.5 and 6
• Some regions have very alkaline water (pH 7.5–8) → risk of rot for fragile roots
• Tips:
• Let the water sit for 24 hours to reduce minerals
• Or use osmosed water
• If possible, measure the pH and adjust with products like "pH Down"
Light: necessary or not?
A bulb (corm) does not photosynthesize, so light is not mandatory. Heat and humidity are the most important components. Bright indirect light is important when the first leaf starts to emerge.
• Avoid direct sunlight to prevent overheating the system or creating algae deposits.
• Tip: You can place a small, light black veil over the Root Starter to dim the light.
• This protects against direct light.
• This also helps maintain the temperature around 27–28°C if you have difficulty reaching it.
How long before the first roots appear?
• 1 to 3 weeks for the first roots
• Sometimes longer depending on the bulb's condition
Root Starter accelerates the arrival of the first roots.
You can be pleasantly surprised very quickly, even with bulbs that have been dormant for several weeks.
Patience remains key, but your bulb may wake up faster than expected!
Mold on my bulb, what should I do?
A white deposit is often non-hazardous saprophytic mycelium.
To prevent fungal rot (Pythium, Fusarium, Phytophthora):
• Remove decaying organic matter (bulb peels)
• Clean any deposits (substrate residues, bacterial biofilm)
• Maintain a clean and controlled environment
My bulb is getting soft, what should I do?
• A bulb must remain firm.
• If it becomes soft, it is often a sign of rot.
Recommended actions:
• Remove the bulb
• Cut off affected parts
• Disinfect
• Resume the procedure under controlled conditions
When to repot?
As soon as the root system is well developed and the first leaf starts to grow.
Avoid repotting too early so as not to slow down growth.
How to repot?
1. Prepare the substrate: use our specially designed substrate for young plants and plants from in vitro culture. As well as a thin layer at the bottom of the pot, with our "active drainage layer" bottom substrate.
2. Choose the pot: a 7 cm (0.25–0.30 L) pot is ideal for starting.
3. Gently remove the roots: remove the roots from the grid and the culture medium without breaking them.
4. Arrange in the new pot: place the roots evenly, without them touching each other.
5. Acclimate: maintain moderate humidity for the first few days to promote rooting and avoid stress.
Can Root Starter be used for all plants?
Mainly recommended for:
• Alocasia (corms and bulbs)
• Struggling tissue culture plants
• Sensitive young plants
Why pretreat with peroxide?
Hydrogen Peroxide:
• Eliminates bacteria and fungi
• Cleanses the bulb
• Greatly reduces the risk of contamination
• Facilitates the assimilation of nutrients released by the substrate
My bulb isn't growing, what should I do?
Possible causes:
• Temperature too low
• Bulb dormant
• Lack of humidity
• Weakened bulb
In some cases, you just have to wait.